LinkBanner Tutorial for Advertisers
LinkBanner is a new product offering that allows advertisers to not only brand themselves through graphical images, but also provide a new way to gain traffic through these banner ads. Advertisers can have their LinkBanner published using tracking to determine what banners are producing impressions and/or traffic for you, or you can have them published with just a static link using the alt text for a keyword or key phrase.
Here is a tutorial to help get you started using our LinkBanner product, which is live right now.
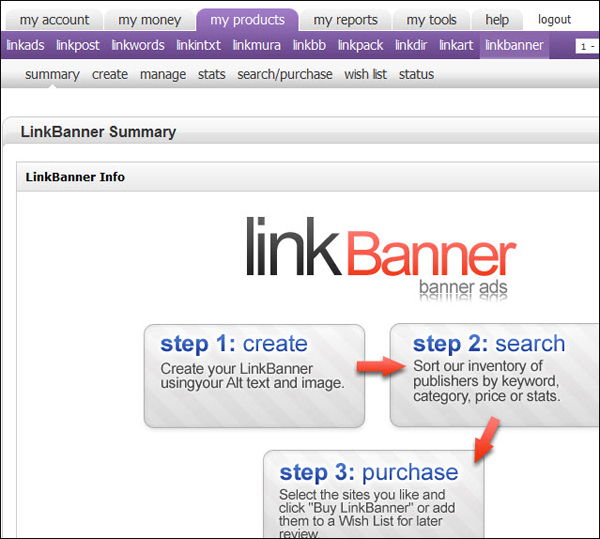
1. Navigate to the LinkBanner Summary page for a brief description and navigation:
2. Next step is to create a new LinkBanner Ad. Click on the CREATE menu option and complete the creation form. Make sure the image you are uploading matches the image size you select in the drop down menu or it will fail. The last part is how you want us to track clicks. If you want LinkWorth to track impressions and clicks, select the first option and when users click your banner ad, they will be redirected through our servers before they head to your target url. If you wish to direct users to your site or own tracking software, select the second option and when a user clicks your banner ad, they will go directly to your target url. Click CREATE to submit your new ad.

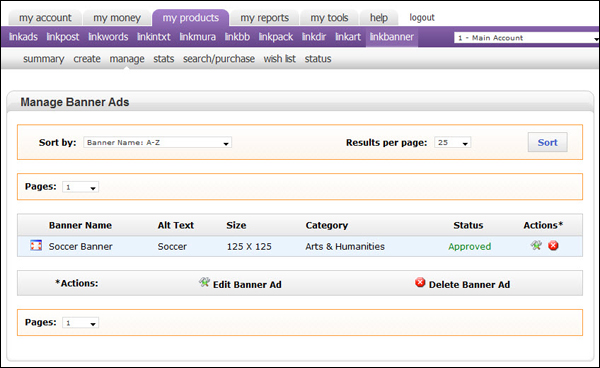
3. Once you have your ad(s) created and approved, you will be able to manage them by clicking on the MANAGE menu option. You can easily mouseover the square icon on the far left to see the image, along with the other details of each LinkBanner's created. If you wish to edit a particular LinkBanner, click the green EDIT icon and it will take you back to the screen similar the the step above. If you wish to delete a LinkBanner, just click the red X icon.
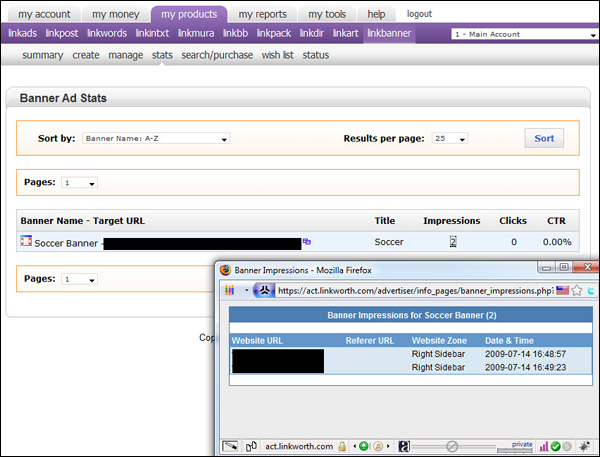
4. If you are having LinkWorth track your impressions and clicks, then you can review your stats for any of your LinkBanner's on the STATS menu option. You will see a listing of each LinkBanner you've created, along with the number of impressions, clicks and your CTR (click-thru ratio). You can also click on the impressions and clicks values to show a new window detailing each impression and/or click. This can help determine which sites are doing well and which are not.
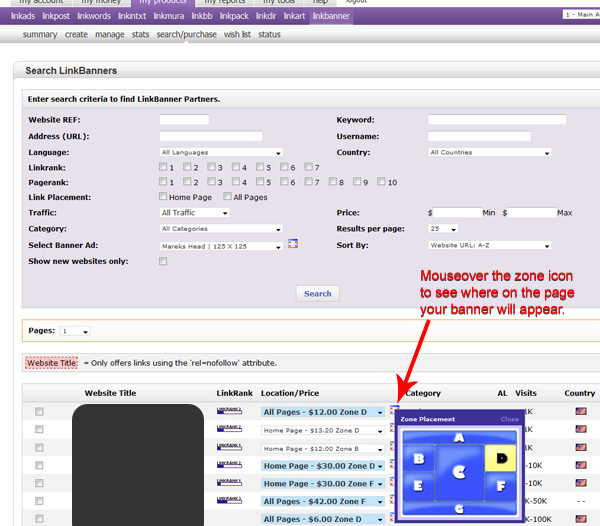
5. If you have LinkBanner(s) created, it's time to search and purchase. Click on the SEARCH/PURCHASE menu option to open the search form. Just like our other search forms, this allows you to make your search as detailed as necessary to satisfy your needs. One very important field on this form is the SELECT BANNER AD drop down. The banner selected should be the banner you plan to place on partner websites. Our results will only show partner listings that offer a zone matching the LinkBanner size you have selected. You can select only this field to show all websites that offer that sized zone, or you can use the other fields to narrow your search down.
Once your search has results showing, you can select your choices and either ADD TO WISH LIST or click CONTINUE to go to the confirmation page, and then finalize your purchase. While searching for potential websites to advertise on, you can view the "zone location" by mousing over the image next to the drop down menu. It will show you a basic layout of a web page and highlight the area where your banner would appear if you purchase from that particular partner.
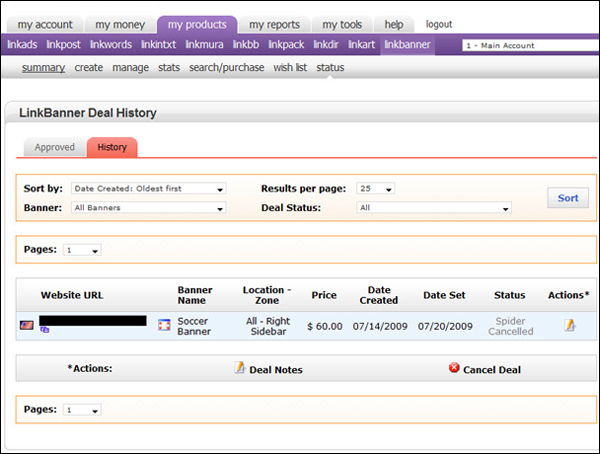
6. If you want to review the history of LinkBanner's you've purchased, that are live, pending, canceled or expired, you can view the STATUS menu option. Once you open this page, you'll see two tabs, APPROVED and HISTORY. If the LinkBanner is approved and published, it will show up in your APPROVED tab. Everything else will show up in your HISTORY tab. On each page, you'll see the details of each LinkBanner purchased, along with Actions you can perform on the far right column.
